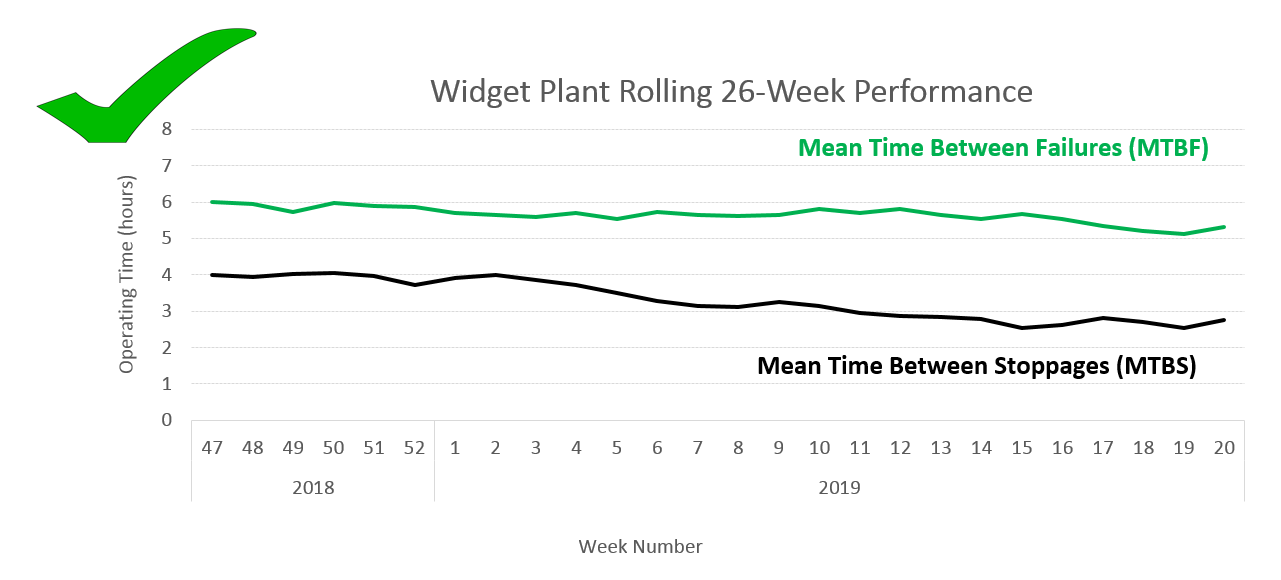
Let me show you how.
This chart compares the Australian ASX200 index with the US S&P 500 index for the past 26+ years. It's not hard to tell which axis is for with which line is it?


Optional: I've chosen to label each axis, and therefore label each line by implication, based on colour. You could also label each line, and therefore label each axis by implication, based on colour.
Here's the detail on how to implement this tip:
- Set-up. First, set up your series on the primary and secondary axes, and scale them appropriately. Colour each series with strong, dark colours, as you need these colours for the text of axis labels. Remove the legend (if one appeared by default).
- Label the primary and secondary axes.
- Select one of the axis labels, go to the HOME tab, and format the text in the Font group:
- Set the font colour to the same colour as the series, or a stronger tone of that colour.
- Set the font to bold, as this helps improve the readability of the coloured text.
- Increase the font size to something legible, as the default is always too small.
- Select the other axis label, and format the font to the same style, but obviously with the other colour.
- Select one of the axes, and format the font for the number labels using the same method as for the axis labels. Obviously, the font size will need to be a little smaller than the axis labels.
- While this axis is selected, format the axis line itself by selecting the FORMAT menu in the CHART TOOLS menu group, then selecting "Format Selection" in the (left-most) "Current Selection" group:
- Select the (left-most) "Fill & Line" tab (the pouring paint-pot symbol).
- Expand the LINE option.
- Select the Solid line radio button.
- Set the Color option to the selected colour for this series and axis.
- Adjust the Width option to make the axis line thicker and more visible. Experiment, but 2 points is a good place to start. Tip: you need to select something other than the axis to see your changes to the axis properly, and then re-select the axis to change it again.
- Format the number labels and the axis line of the other axis using consistent fonts and line styles, but obviously with the other colour.
By this stage, you're probably wondering whether it was worth all the effort. For each case, that depends ultimately on your audience. But I'd encourage you to take the time to learn and frequently apply these skills. Soon you'll be able to create higher quality charts - for any audience - within only a few minutes.